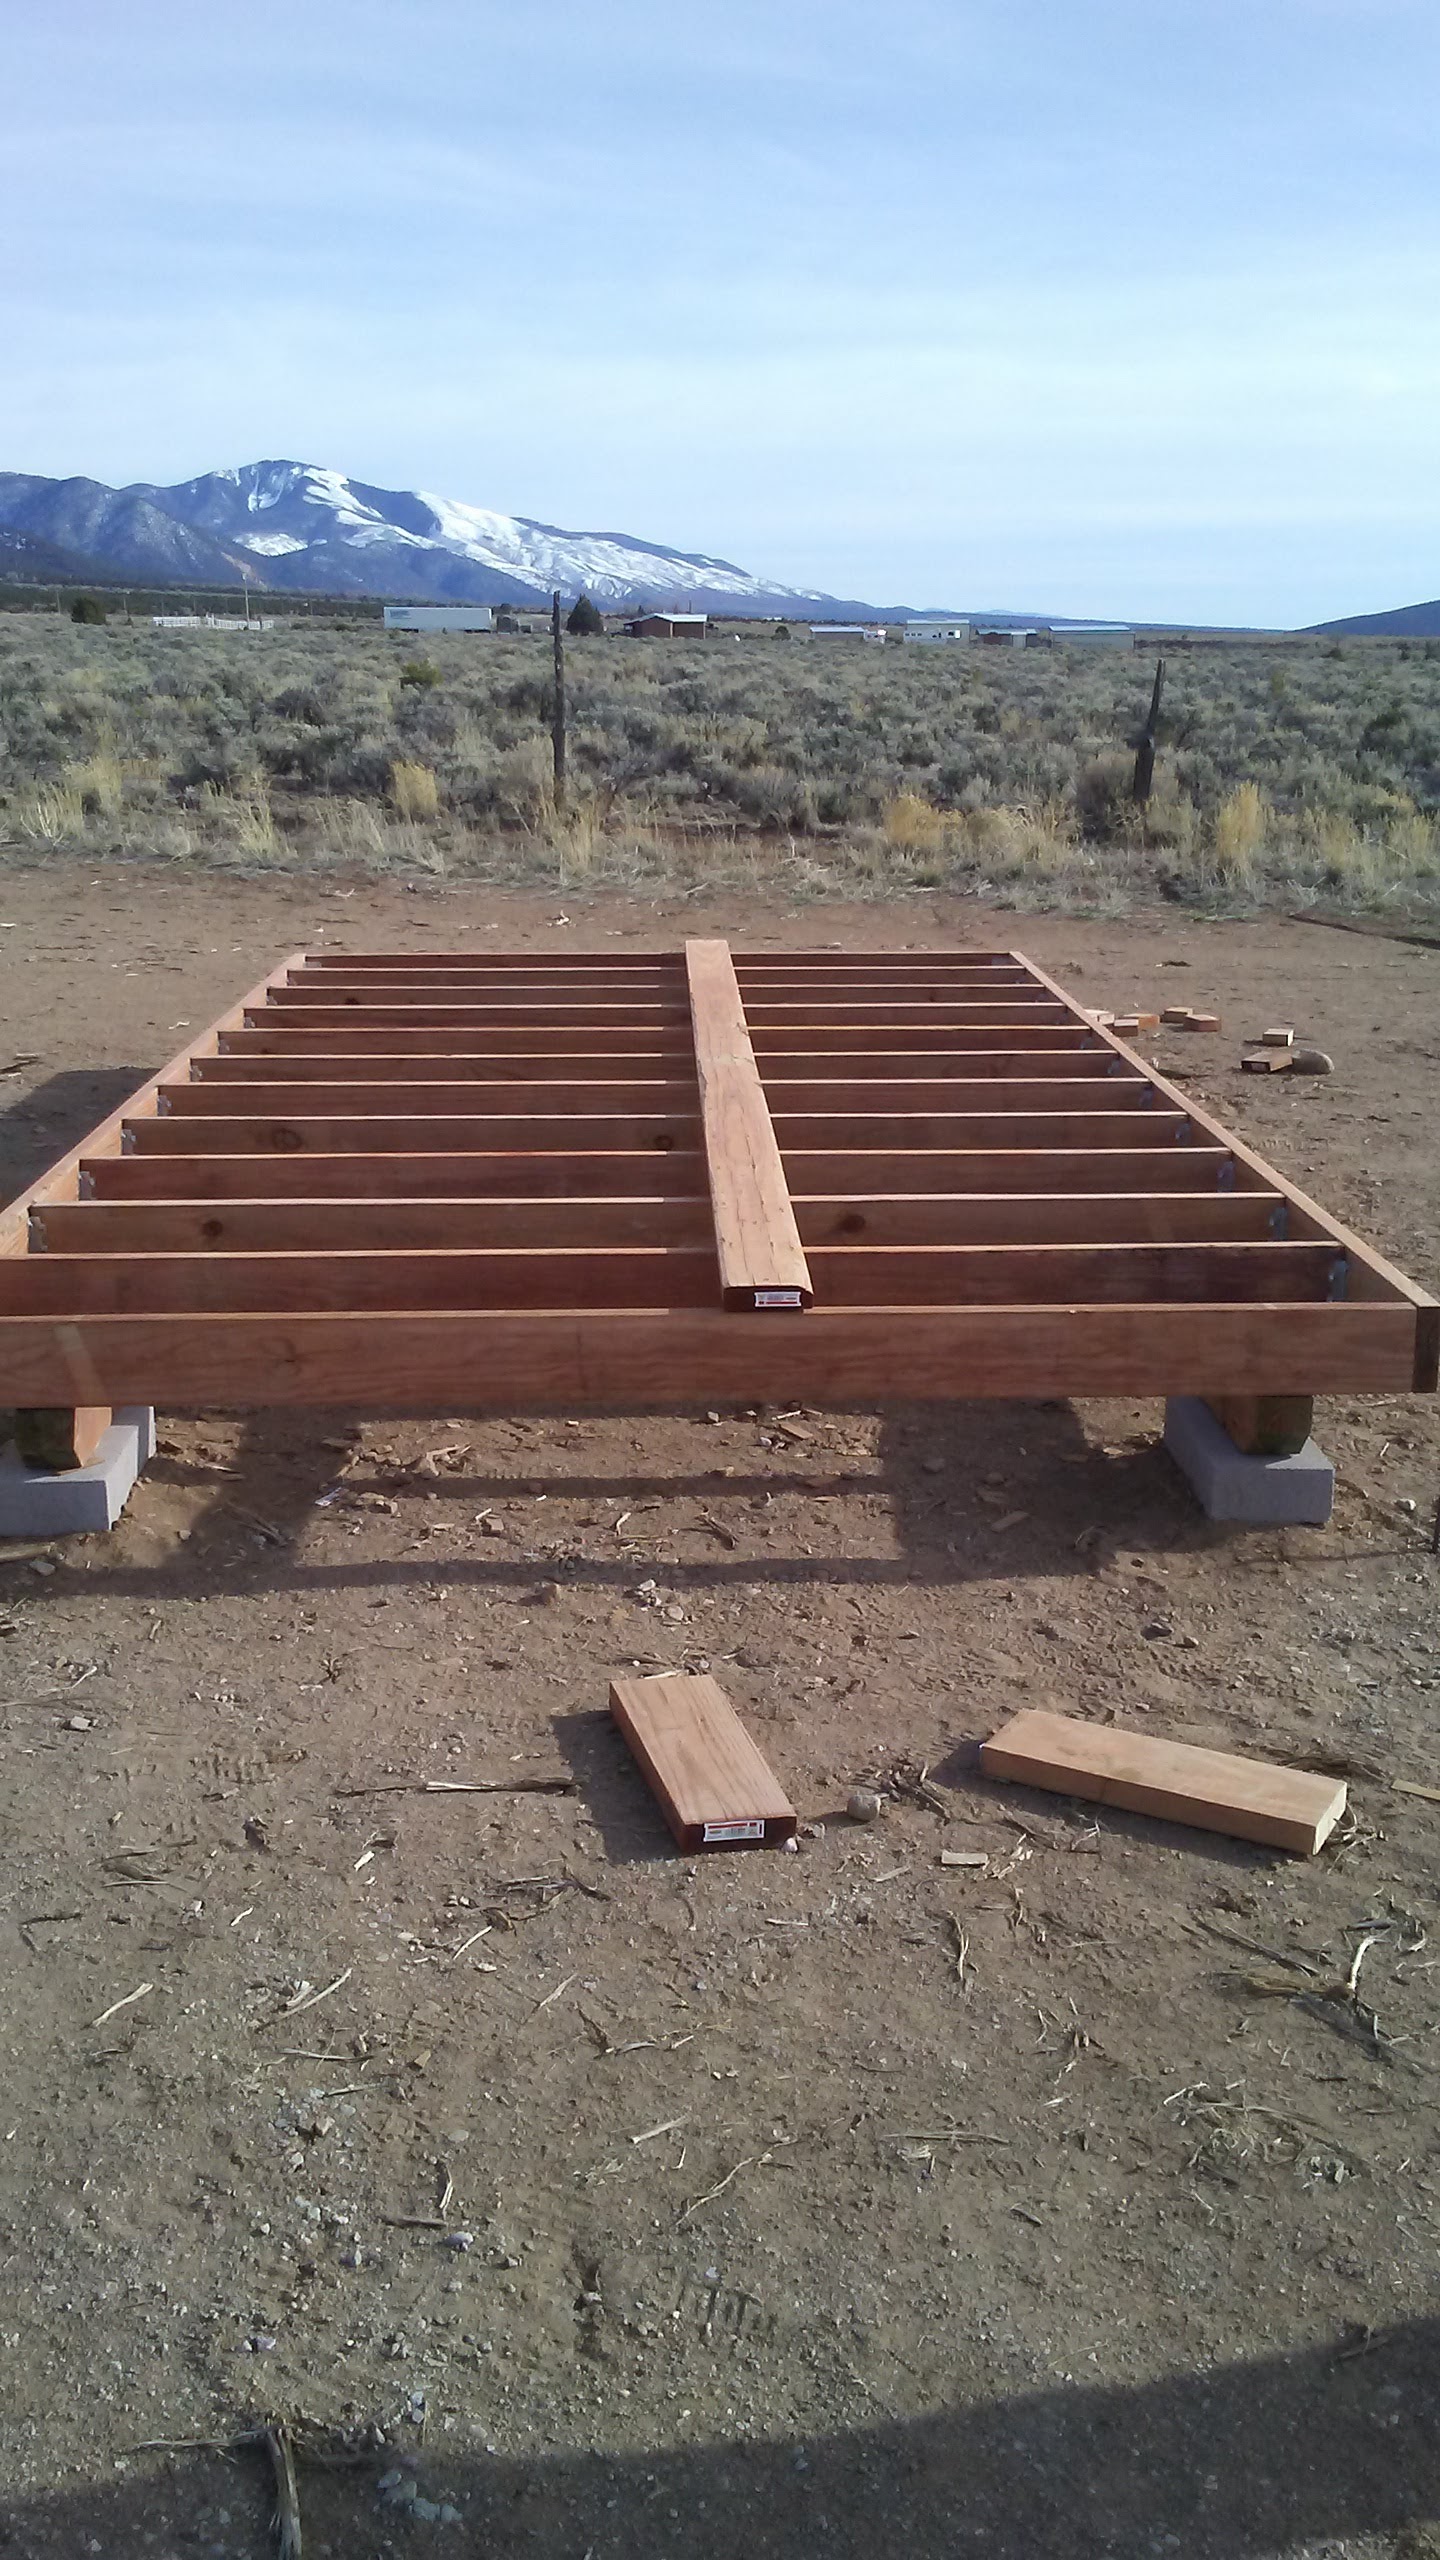
After we got our running boards and floor joists on, we started on the next task. We were worried about the pandemic getting out of control and we weren't sure what businesses would get to stay open once things started shutting down, so we wanted to get the floor of the shed finished, so we could put a tarp over it and start again when things hopefully calmed down. So, we started with the rim joists. Should be easy right, just slap on some wood around the edges of the floor joists and we're good to go right? Nope.
Getting things perfectly square may seem like an easy thing, but as you nail and screw things together, other bits get out of alignment. Plus, wood is not all the same... sure, you know what general size you are buying, but there are bows and notches and knots, and sometimes, it may not be the same width as all the other stuff, so that slows down your progress a bit. But, once we got that done, the next part came together fairly easily.
 |
Nails may not have been the best choice here as the boards didn't quite cinch together as well as they should have.
|
 |
Due to bowing of the wood, this piece was higher than the rim joists. It had to be chiseled and sanded down before we could put the subfloor on to prevent bowing and uneveness in the floor
|
 |
| Finished! |
 |
It's so purty!
|
The next step was to get the midspan blocks in. The only complications of this part was the small spaces making maneuvering a bit difficult, but it worked out pretty well.
 |
Putting in the midspan blocks in alternating pattern made it easier to get all of them in
|
 |
All of the midspan blocks put in
|
After we got the midspan blocks in, we put in ledger boards to hold our foam block insulation in place. We opted to have this type of insulation for a few reasons, which I will discuss later, but it needed to be held up by these ledger blocks.
 |
These were small and put on each side to keep the foam block insulation from falling through
|
 |
We made a guide to make sure that we put the ledgers at the exact same height in each bay
|
 |
But tight spaces made for difficult hammering.
|
 |
| Finished |
 |
| Beautiful! |
The next step was to get the insulation in. Getting it to our property proved to be interesting because the only place that sold the kind we wanted was in Angel Fire, and our property is North of Questa - and we don't have a truck. So, we had to tie the insulation to the top of the trailblazer, hold it down through the sunroof and drive REALLY slowly so it wouldn't blow off or break. But, we successfully got it where we needed it. Did I mention these things are really light, because the slightest breeze and they will take off and fly away. We were trying to store them underneath the shed floor, but one got away from us when a dust devil hit. I chased that thing halfway across our property before it finally stopped. Fortunately, it wasn't damaged much and were still able to use it.
 |
The foam blocks come in large pieces, so cutting them down to size was necessary.
|
 |
But, once cut, they fit pretty well. We used extra pieces of wood to make sure they didn't pop back out of their bay.
|
 |
Looking good
|
 |
Almost done
|
 |
| Complete |
We piled heavy wood on top of that to make sure that none of those came out before we could get back the next day to put the subfloor on.
 |
We laid the wood on top and measured everything
|
 |
Father and son looking at what needs to be done
|
 |
Much is happening here
|
 |
Occasionally, my weight was needed to make sure the screws would sink in correctly.
|
 |
What is this?
|
 |
I guess a nap was needed.
|
 |
| Gorgeous! |
We knew we couldn't leave it like this, not with the winds we get. The next post will talk about how we anchored it down, and then started working on the walls (those turned out to be much harder than we expected, but a whole lot of fun too)


Looks downright professional!
ReplyDeleteThank you
Delete