Building a shed part 3
After getting the subfloor installed, we went back out and began the process to anchor it down. For those who don't know, the winds in Northern New Mexico can get very strong. So much so that it could easily have lifted up our shed platform and relocated it, causing much damage along the way. It's not uncommon for small buildings that are not anchored to be blown away. It's also not uncommon for small buildings improperly anchored to be destroyed by the wind gusts we get here. I wasn't able to be there for the whole process due to starting to teach online at this point. I also wasn't able to help much as I was recovering from some unknown upper respiratory thing that wasn't COVID. But, we had to dig a hole, fill it in with cement, and then back fill with dirt after the cement had set a bit.
 |
| Digging holes in compacted dirt isn't exactly easy |
 |
| It required not only a post-hole digger, but a spike bar, lots of water, and a whole lot of patience |
 |
| And a lot of upper body strength |
 |
I got exhausted watching |
 |
| My view |
Because the cement wasn't fully set, we had to wait a few days to do the anchoring, so in the meantime, we worked on building the walls, and priming the siding.
 |
| One of the holes with the anchor in place - cement still wet |
Again, due to work, I arrived after a lot of work had already been completed. We got the wood laid out to start the walls, and the siding laid out so we could prime it.
 |
My son helping move the wood for the walls |
 |
| The siding laid out and starting to get primed |
 |
| Brandon used a roller to flood the siding |
 |
| We primed both sides because we weren't sure when we would be able to put the siding up and we didn't want it ruined. |
 |
| We had to make sure the crevices were well primed |
 |
| We took turns priming the crevices. |
Building the first wall was a lot of fun, and though we had some difficulties in getting it square and making sure things fit properly, I got super excited when we finished it. We had to use wood clamps to hold the double beams together, and make sure one of us was holding one end, while the other used the nail gun on the other end. We got both side walls finished that day.
 |
| One side wall finished! |
 |
| When we finished both side walls, we laid the siding on top to keep the side wall from blowing away, we lightly attached them, just to keep things secure. |
A few days later, the cement in our anchor holes had fully dried and we secured the base to the anchor posts. This wasn't as easy as we thought, given the directions were a little vague, but we figured it out and got everything cinched down quite nicely. It took both of us to do it correctly, so if you think you're going to do this with something you own, make sure you have an extra pair of hands, or some really cool power tools that don't require you to hold them.


After that, we started on the back and front walls. Those were a bit trickier and we messed up more than once, requiring us to go through more wood than we had planned. Fortunately, we had extra wood and managed to finish everything correctly.
Before we started our front and back walls, the roof trusses arrived. We opted to custom order them, rather than build them because we didn't think we would be able to do this with our limited knowledge and equipment, plus, we needed to make absolutely sure they exceeded the snow-load requirement for this area.


After we admired our trusses, we got to work on the walls. We had trouble with the both walls - miscalculations, mismeasurements, and Lyme disease exasperating things made it particularly difficult. We had to redo the part above the door, and we had miscalculated where some of the double studs were going to be, so we had to redo those as well. It took us far longer than it should have to get one side done.
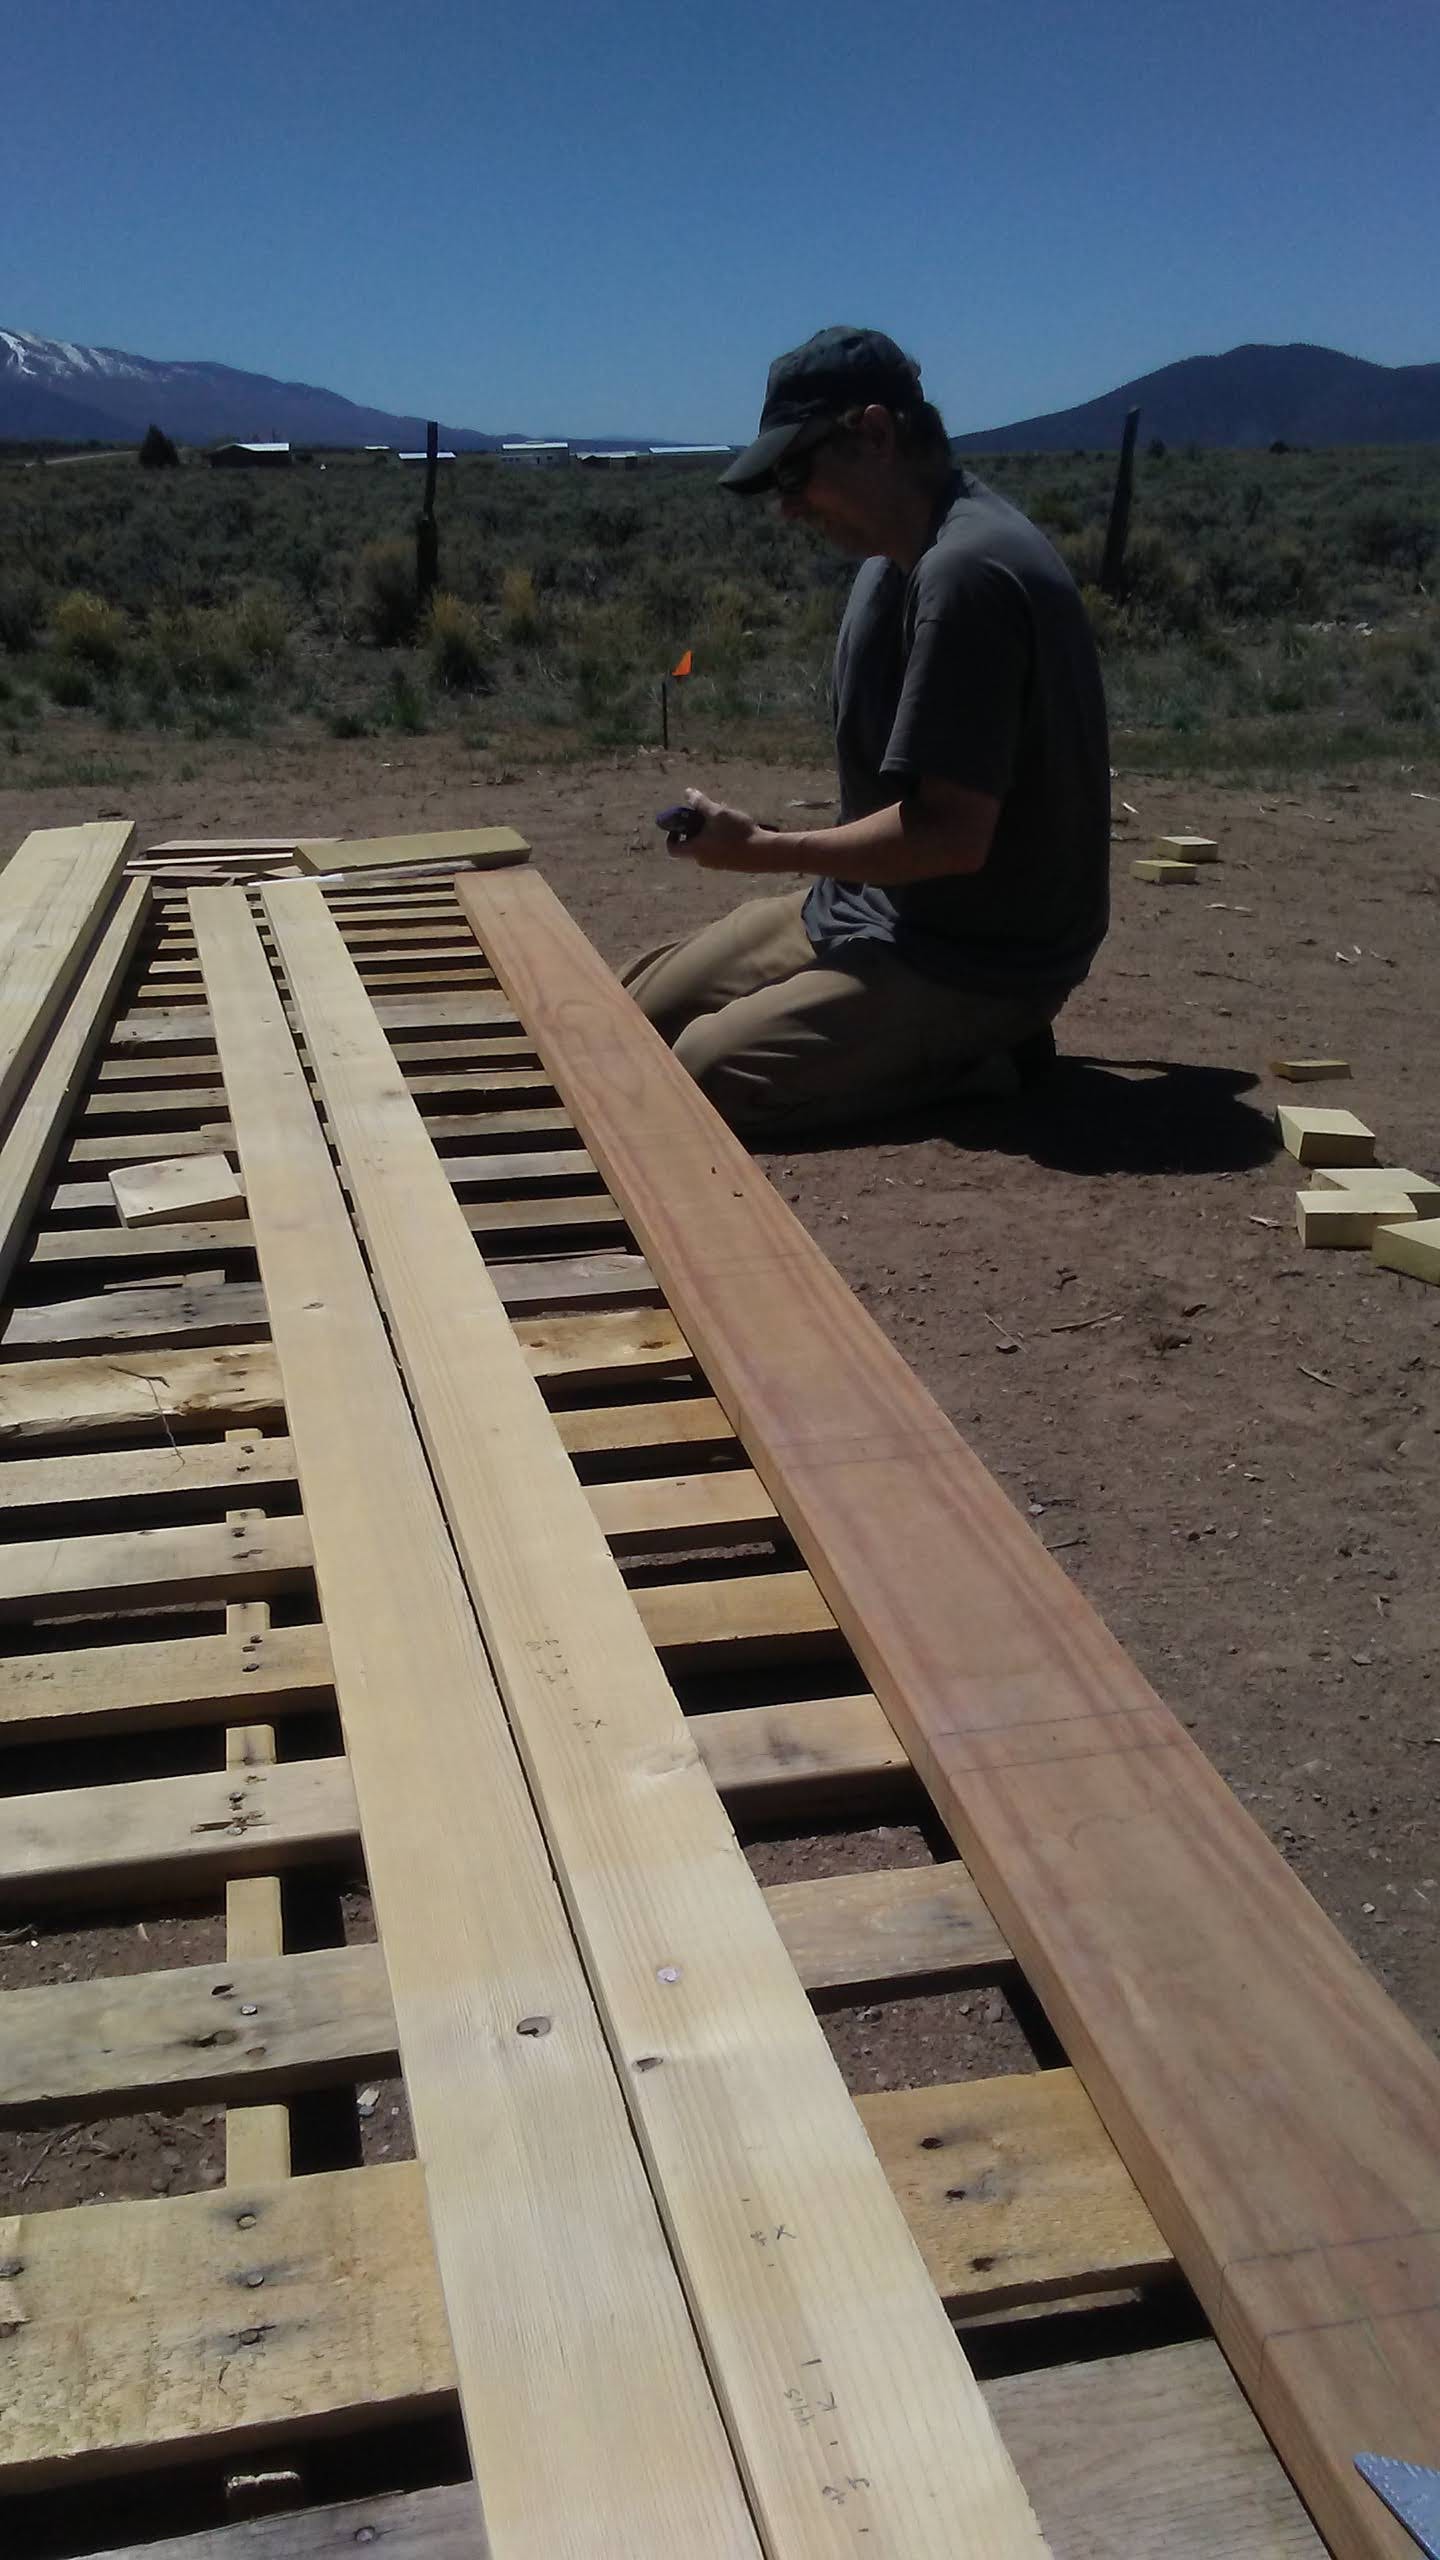 |
| Laying out the pieces we needed. |
 |
 |
 |
| Getting the other pieces into place |
 |
| Front wall with one door and two windows. |
The next day, we started putting the walls up. That took a lot of patience, and three of us to do it, but we got it done.
 |
| Southern side wall up. |

 |
 |

Very interesting seeing all your progress.
ReplyDeleteI guess you could live in it after it's done, while you build a house.
My mom's first house was a garage her dad built before building their house. Later, it was turned back into a small house for migrant workers. I actually toured it when I was in my 20s. It had been long since abandoned, but my mom removed and salvaged a fake mantle her dad had built in it, and I got a baby deer mouse out of a nest in a kitchen drawer. I had that mouse for a few years. My parents still have the mantle.
Living in it may be part of our plan - but as you will see later, we also have 2 RV plugs attached to the front, and one on our meter, so we will have options.
Delete